Tips and Hints for Taking Photos from the Window Seat
As a frequent traveler I have been in the habit of taking a camera with me whenever flying. Since I am a “carry-on only” traveler this means that I can have my best camera accessible to me when on the airplane rather than relying on my cell phone camera. I always get window seats and love to watch the terrain below slowly pass by and try to guess our location. A few years ago I started taking pictures from the windows of my “aerial photographic platforms” . As my fellow travelers are busy on their PC’s, tablets, phones or sleeping, I am enjoying and capturing some amazing views!
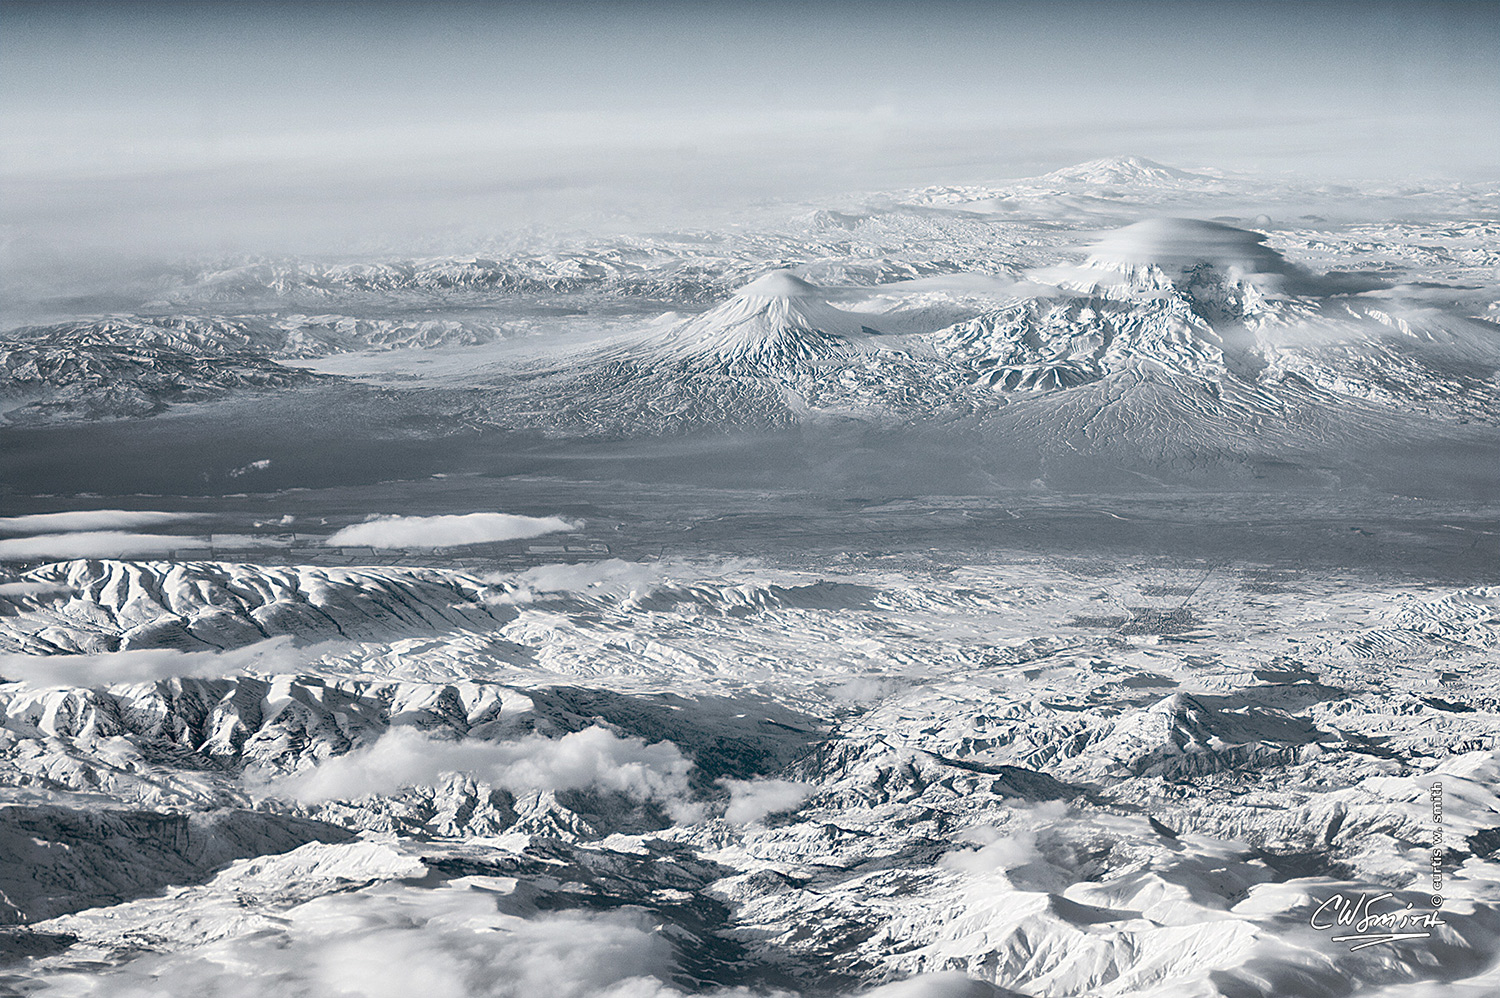
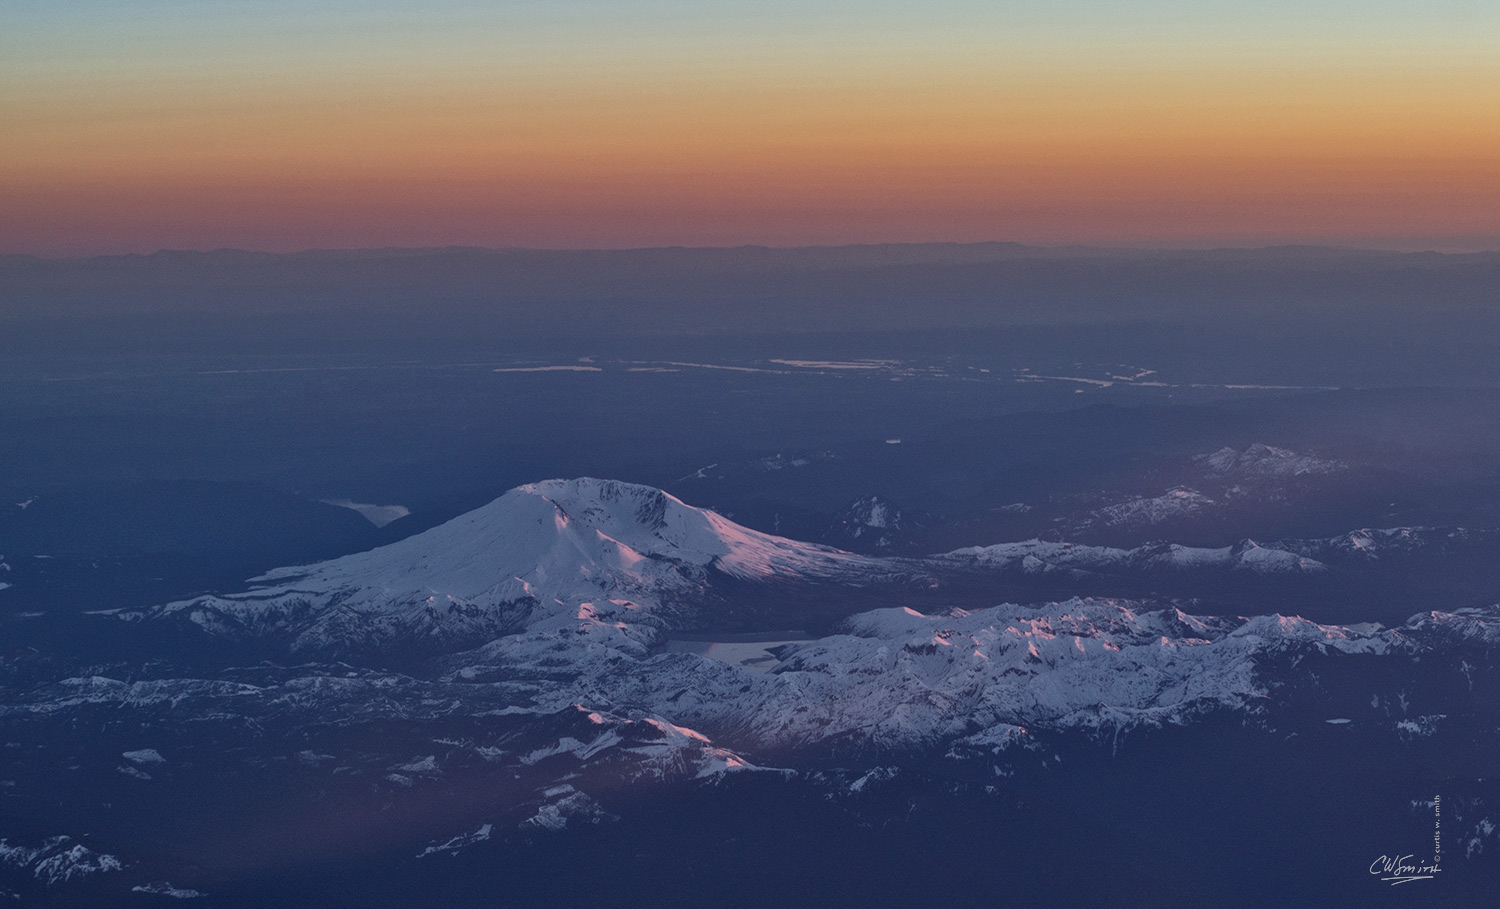
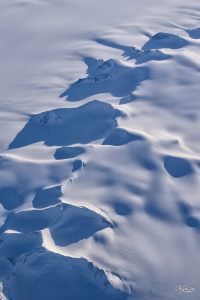
This mountain image is one of my early shots during a flight from Seattle to Dubai, UAE. At the time I was not sure what I was seeing but later learned the snow covered mountain peaks were none other than Mt. Ararat (yes, of Noah’s Ark biblical fame!) and “Little Ararat” (to the left). Since then I have been able to gain quite a bit of experience so I want to share some useful tips on airplane window photography.
Put your seats in their upright position and let’s go!
What is the best seat for airplane window photos?
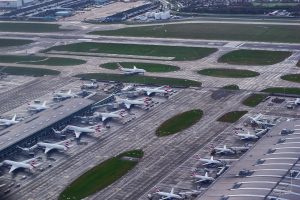
Some seats are definitely better than others and of course we are talking about window seats only. You want the best unobstructed view you can get (or afford). Unfortunately in most cases, this eliminates the exit row seats because of the wing obstructing your view.
When booking your flight it is useful to know the plane type (i.e. Boeing 737) but ideally you want to be forward of the wing by at least 3 or 4 rows. On a 737 this usually means rows 6 through 9 (include rows 1-4 if you are a first class flyer). If these seats are not available then 4 to 5 rows or more behind the wing will work okay. If you get too far back then the plane’s rear stabilizer could obstruct some of your view. Also keep in mind that being behind the wing means you may have heat from the engines add a weird shimmering to your images. In the end, try to get a clear view but if you cannot, make the most of it!
Know your Route
There are several ways to find out your flight path but I will generally first look at Google Maps and get an idea what is between departure and arrival airports. There are also useful web sites that will show the actual flight path for a specific flight number. This is useful because on a flat map the flight path is never straight but curves depending on the hemisphere, direction and distance travelled.
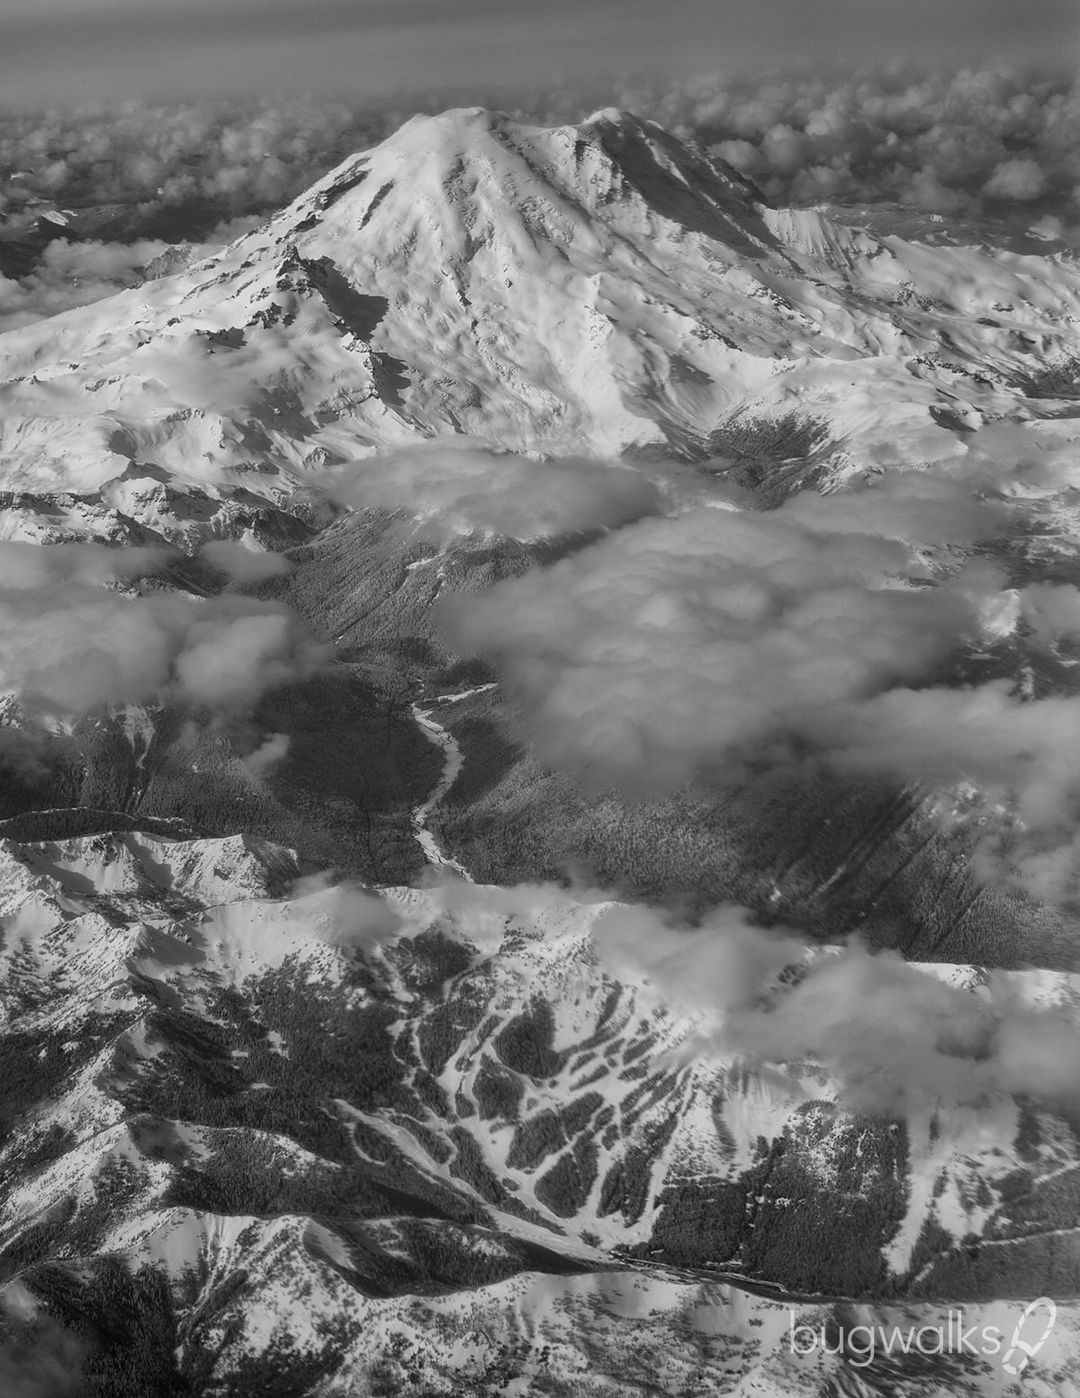
So, why is this important when you really do not have any control of the flight path? The answer is that it helps you select which side of the plane will give you the best opportunity for great images. A good example is a flight from Seattle to Phoenix, Arizona. If you sit on the right side of the plane you will usually see all the volcanic mountains in southern Washington and most of Oregon. However there is a good chance you will see little of the Grand Canyon. Sit on the left side of the plane and you will generally get awesome views of Mt. Rainier but miss most of the other prominent peaks. However, your chances of incredible Grand Canyon views are greatly increased!
Consider the time of day
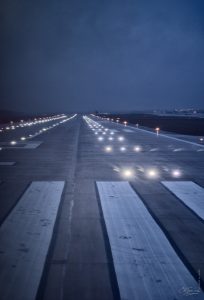
Since photography is all about light, when you fly is a controlling factor whether to pull out your camera or not. If you are traveling at night then put your camera away and get some sleep or watch a movie. An airplane is just not a stable enough platform for long exposure images even at higher ISO settings.
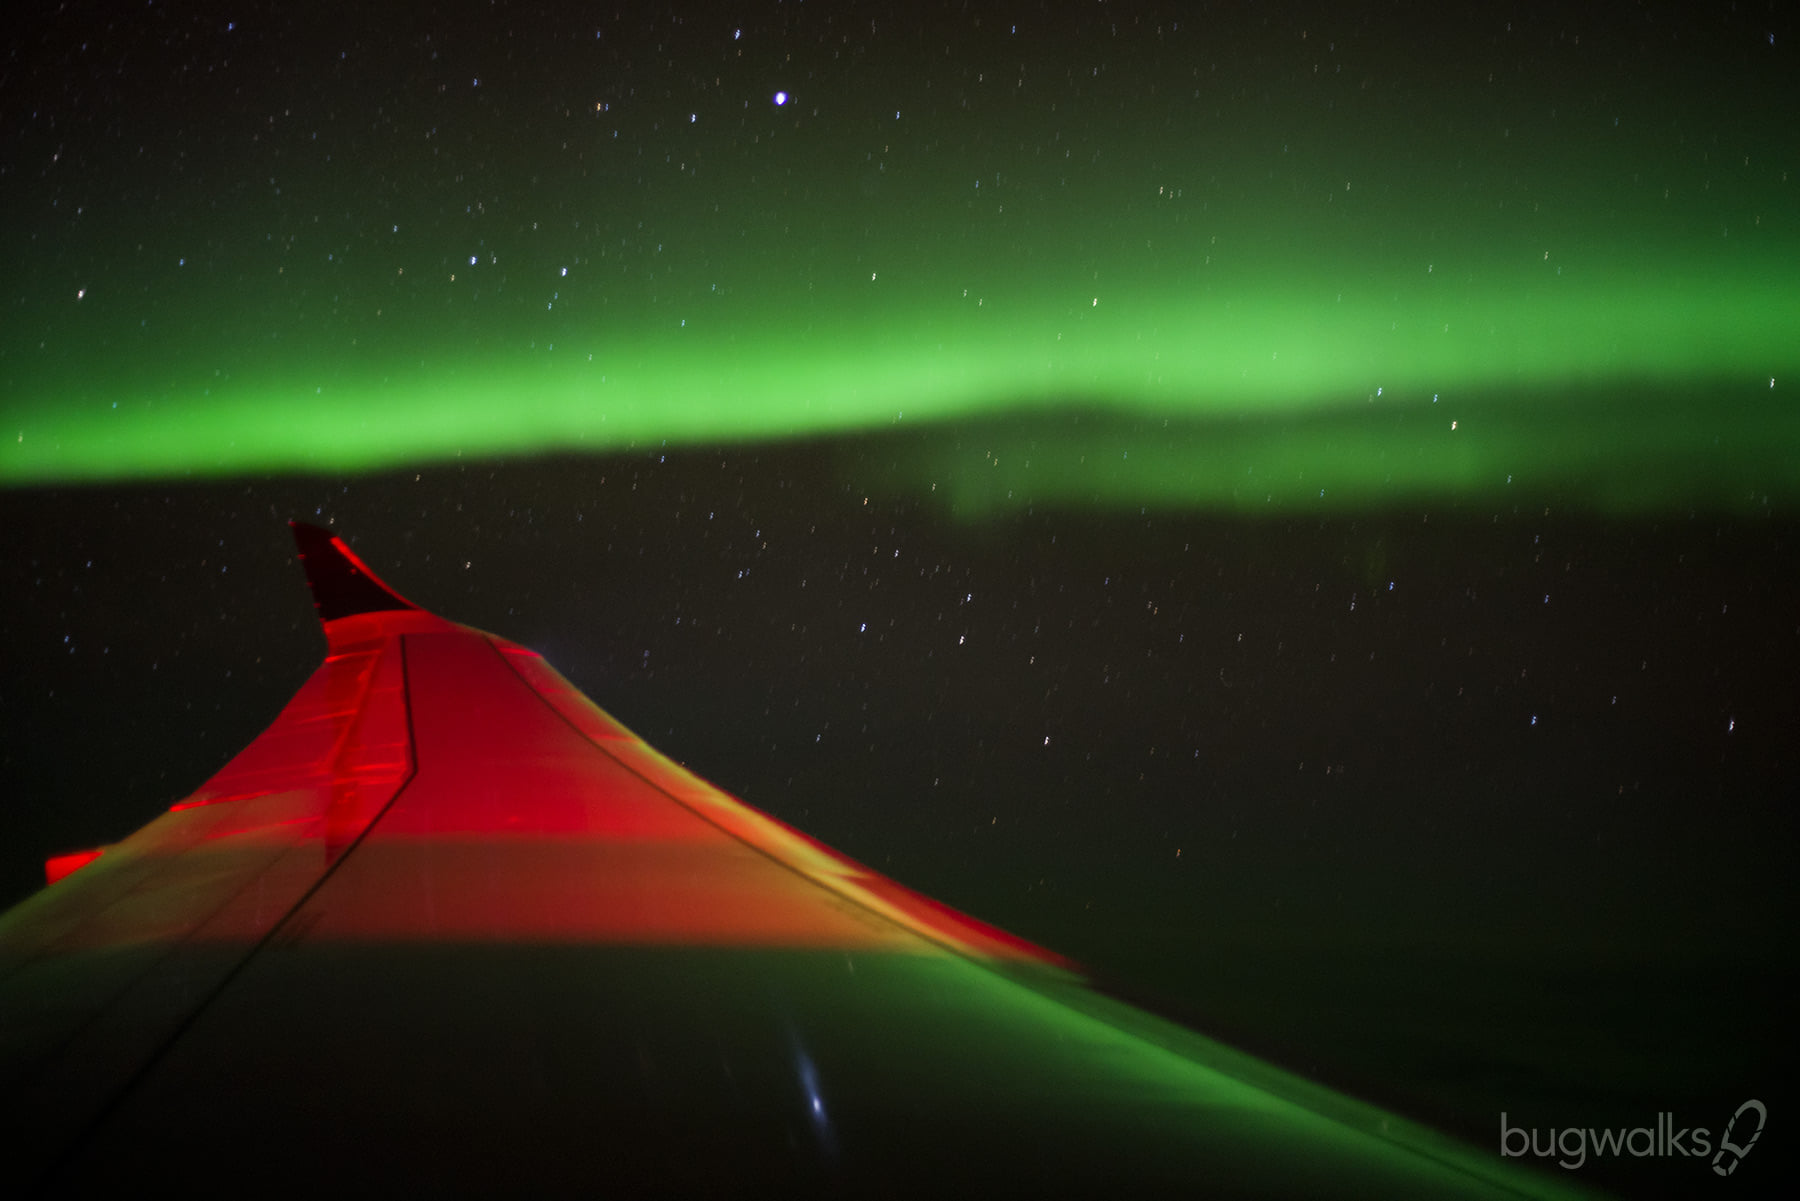
The one exception might be if you are taking a night flight over the polar regions where there is a possibility of seeing aurora borealis. When flying east (i.e. Seattle to London) sit on the left side of the plane. When flying west (i.e. London to Seattle) sit on the right side of the plane. If you are flying directly over the pole then you are probably good with either side. There are several online sources available that attempt to track aurora activity.
Helpful hint: Have a coat or blanket handy to put over your head and camera to shield reflections from inside the airplane cabin. I have also used my neck pillow wrapped around the lens and this works like a charm.
Where is the Sun?
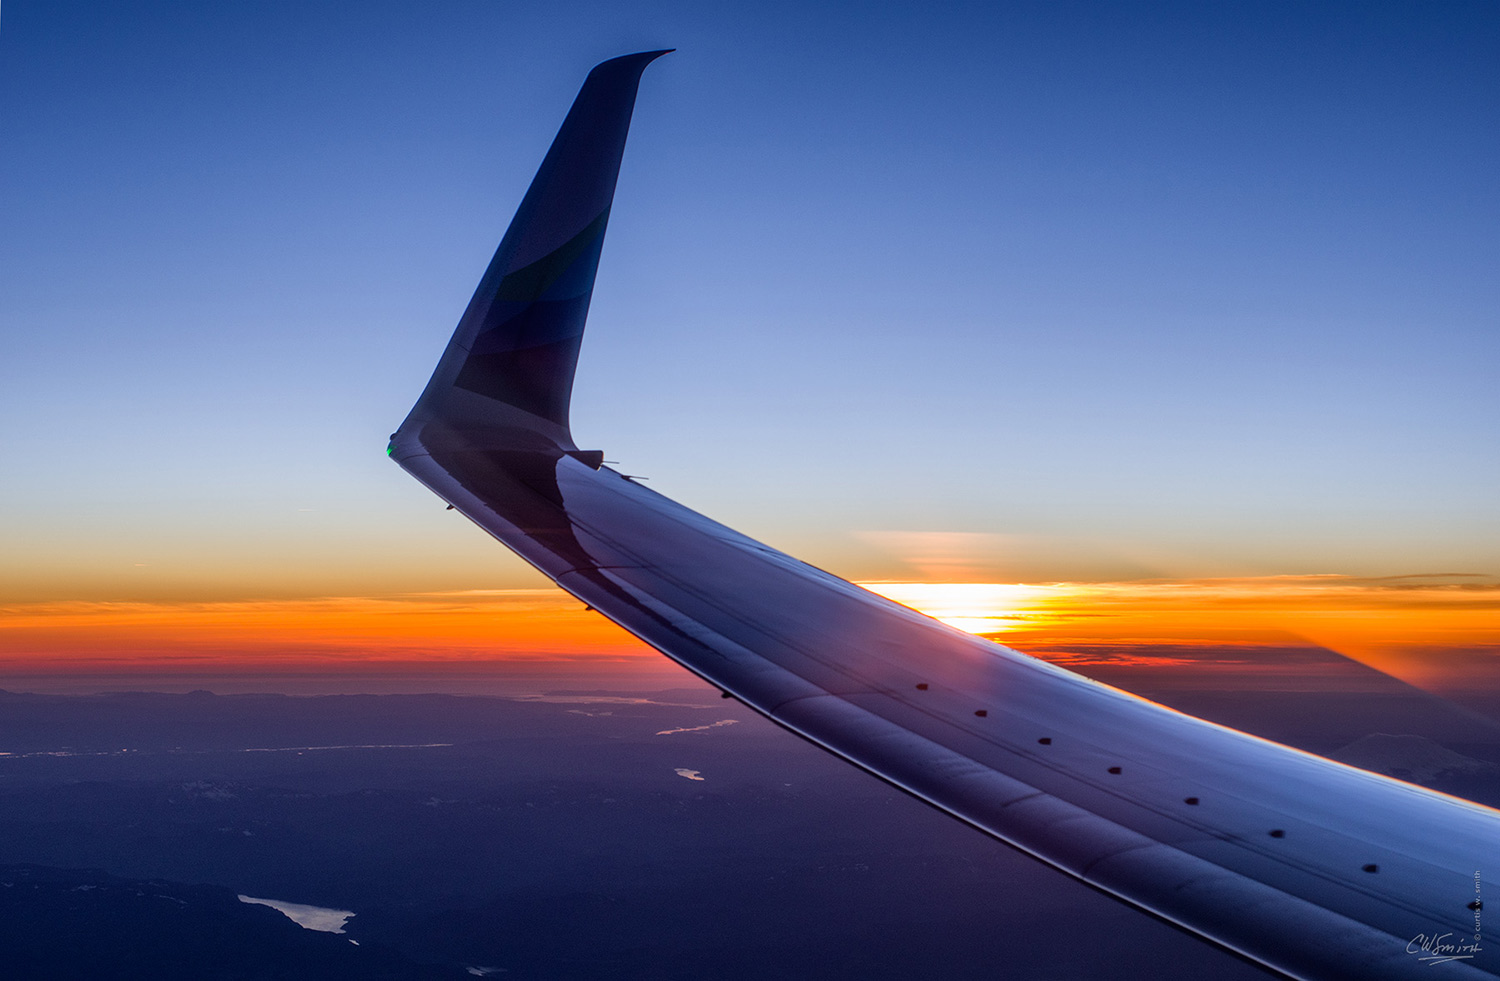
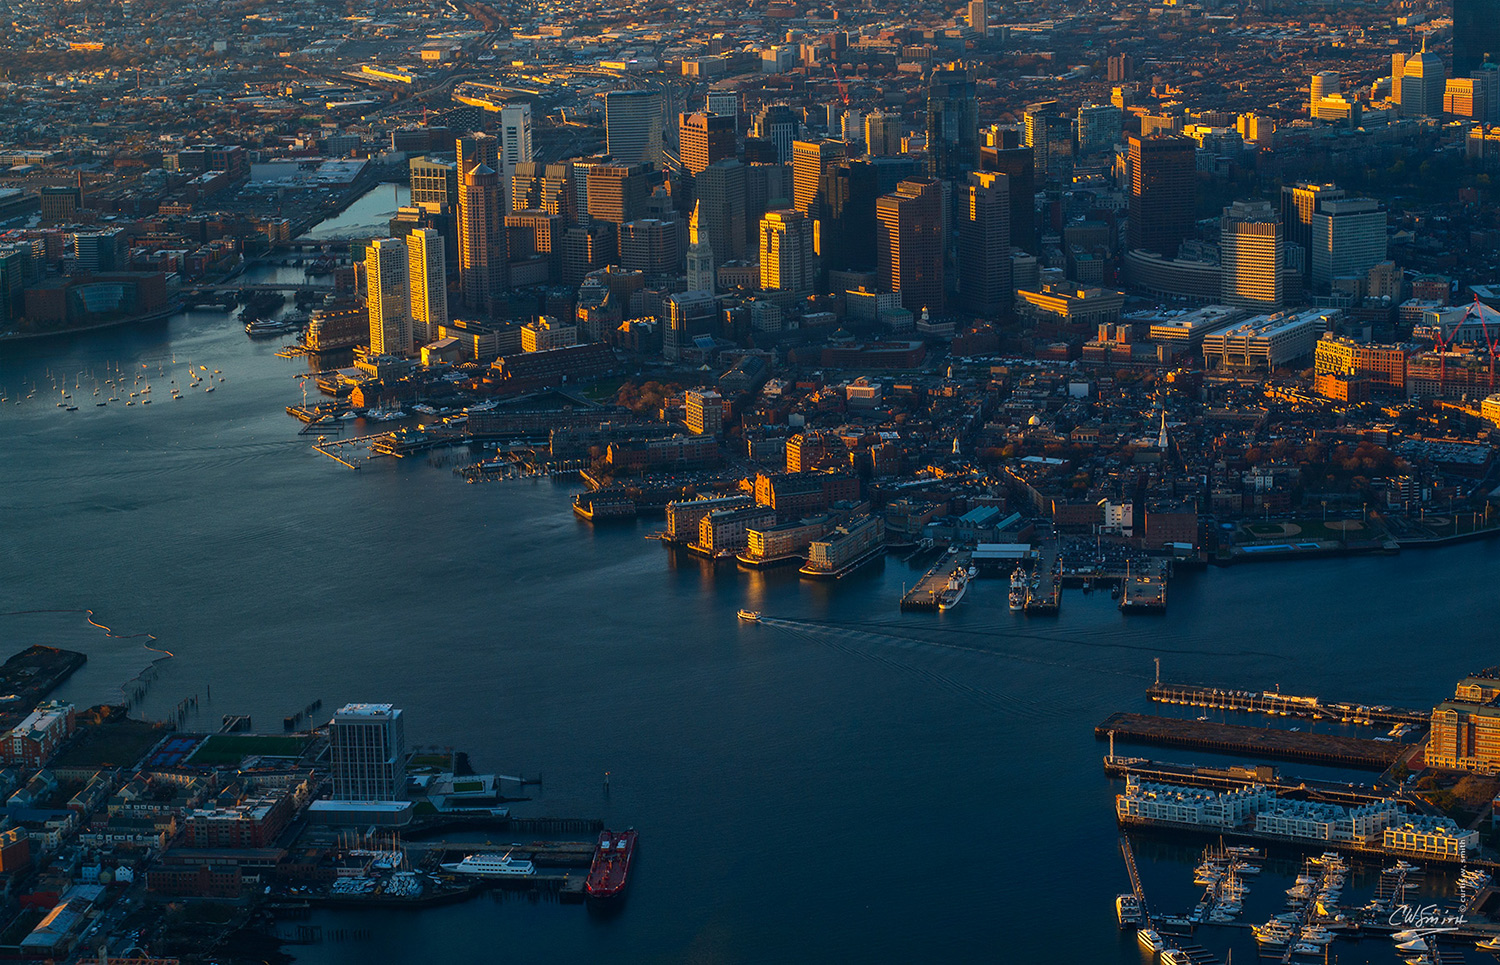
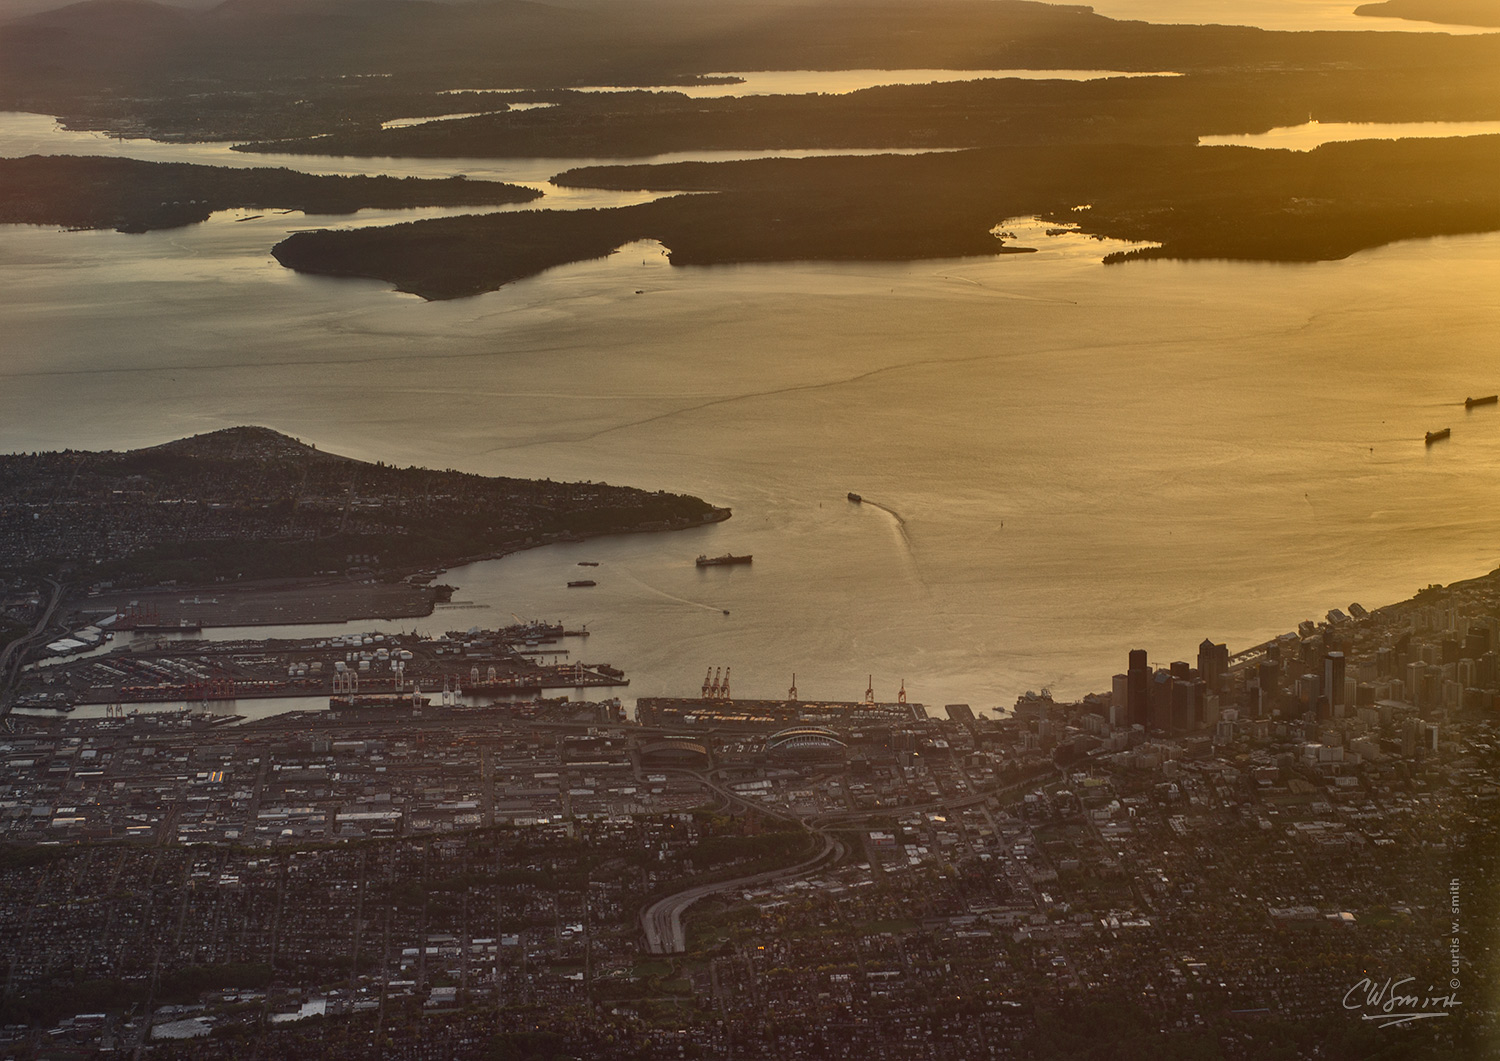
When taking daytime flights consider where the sun will be for the majority of the flight. You want to avoid having the sun in your face since this makes it nearly impossible to avoid glare in the plane window. An example would be the morning Seattle to Atlanta flight. I will generally try for a seat on the right side as the rising sun will be facing the left side of the plane for most of the flight. The exception might be if you want to capture a sunrise or sunset (and of course all photographers love a good sunrise or sunset!). If your window is badly scratched and you are facing the sun, good luck. Scratched windows amplify the glare and make it almost impossible to capture a good image.
Helpful hint: Have a cloth handy to clean your window if necessary.
What camera to use
There is no need to get into specific brands of cameras or lenses here but it never hurts to have the best gear your budget allows.
My airline photography setup is a very simple and compact Pentax K-1m2 body and 35+ year old 50mm/f1.7 Rikenon manual focus lens (never underestimate the value of old glass!). This lens is very sharp and easy to use as I just set the focus to infinity and fire away. The f1.7 aperture allows me to keep the ISO at 100 and use shutter faster speeds for most images. Regarding the camera body, I would say that a higher resolution can prove really useful when editing as it provides more latitude when cropping the image.
There are also many very capable point-and-shoot cameras that are compact and would be up to the task of airplane window photography. Some level of manual control would prove useful so you can adapt better to odd and changing light conditions (i.e. low light, high contrast, sun in your face).
What lens to use
For me, the 50mm focal length is a perfect compromise between wide angle and telephoto since the field of view out an airplane window is pretty narrow anyway. A wider focal length would start capturing more of the window frame and airplane wing. A narrower focal length would limit you too much and make getting landscapes more difficult. In some instances I have taken two images to combine as a panorama but since the airplane is moving you have to be quick. I imagine a 24-70mm zoom lens would work well also but it would not be as compact as the 50mm prime configuration. On rare occasions I have used a 70-200mm, f/2.8 zoom (see the Tetons image in the Gallery below) but only because it was in my bag. The weight and bulk make it difficult for airplane window photography.
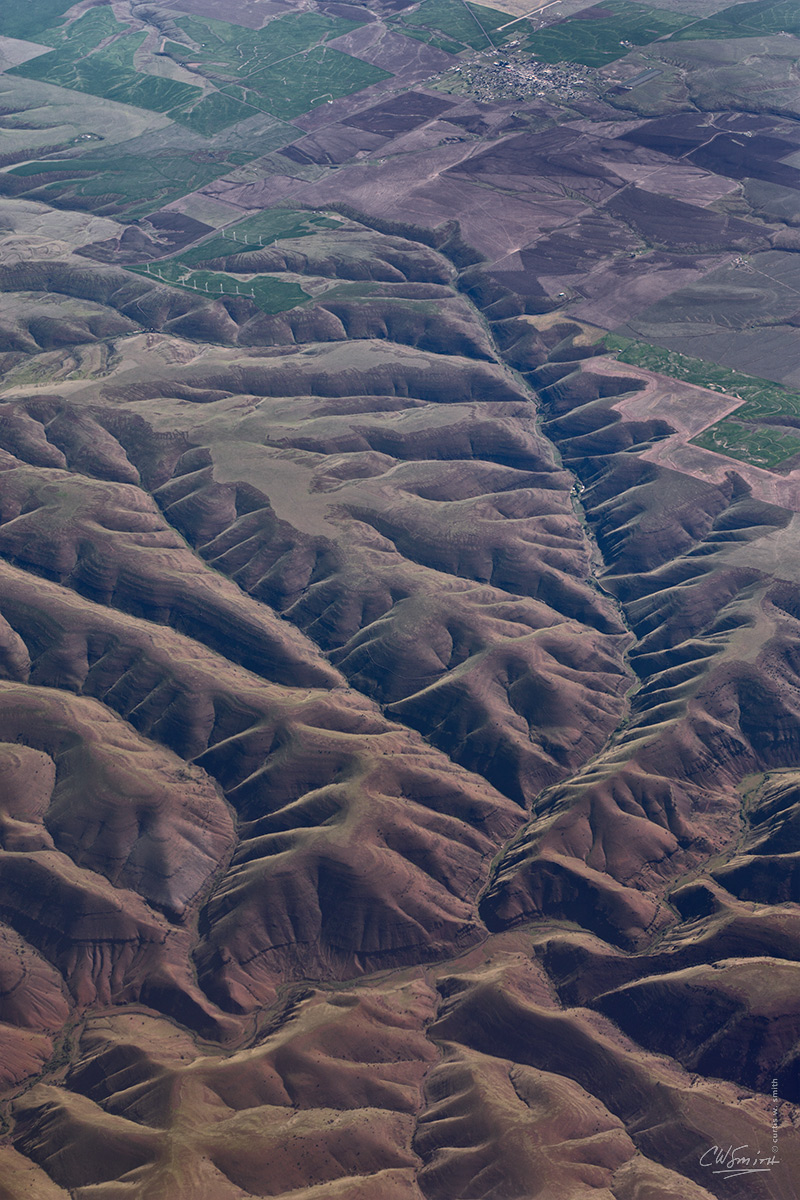
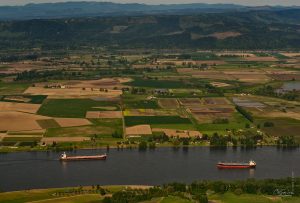
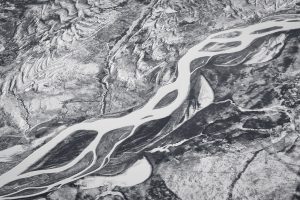
Composition
While composition can be a very broad subject it is pretty easy to say that traditional rules apply well in the case of airplane window photography. Leading lines (such as river valleys) and “rule of thirds” are a good baseline concepts because you are essentially taking landscape images. Unfortunately you do not have much control regarding where the camera is placed. You are restricted by your little airborne porthole. It is really a matter of how you can point your camera up or down and right or left. Because of the narrow point of view, composition sometimes takes a backseat to just getting a usable image.
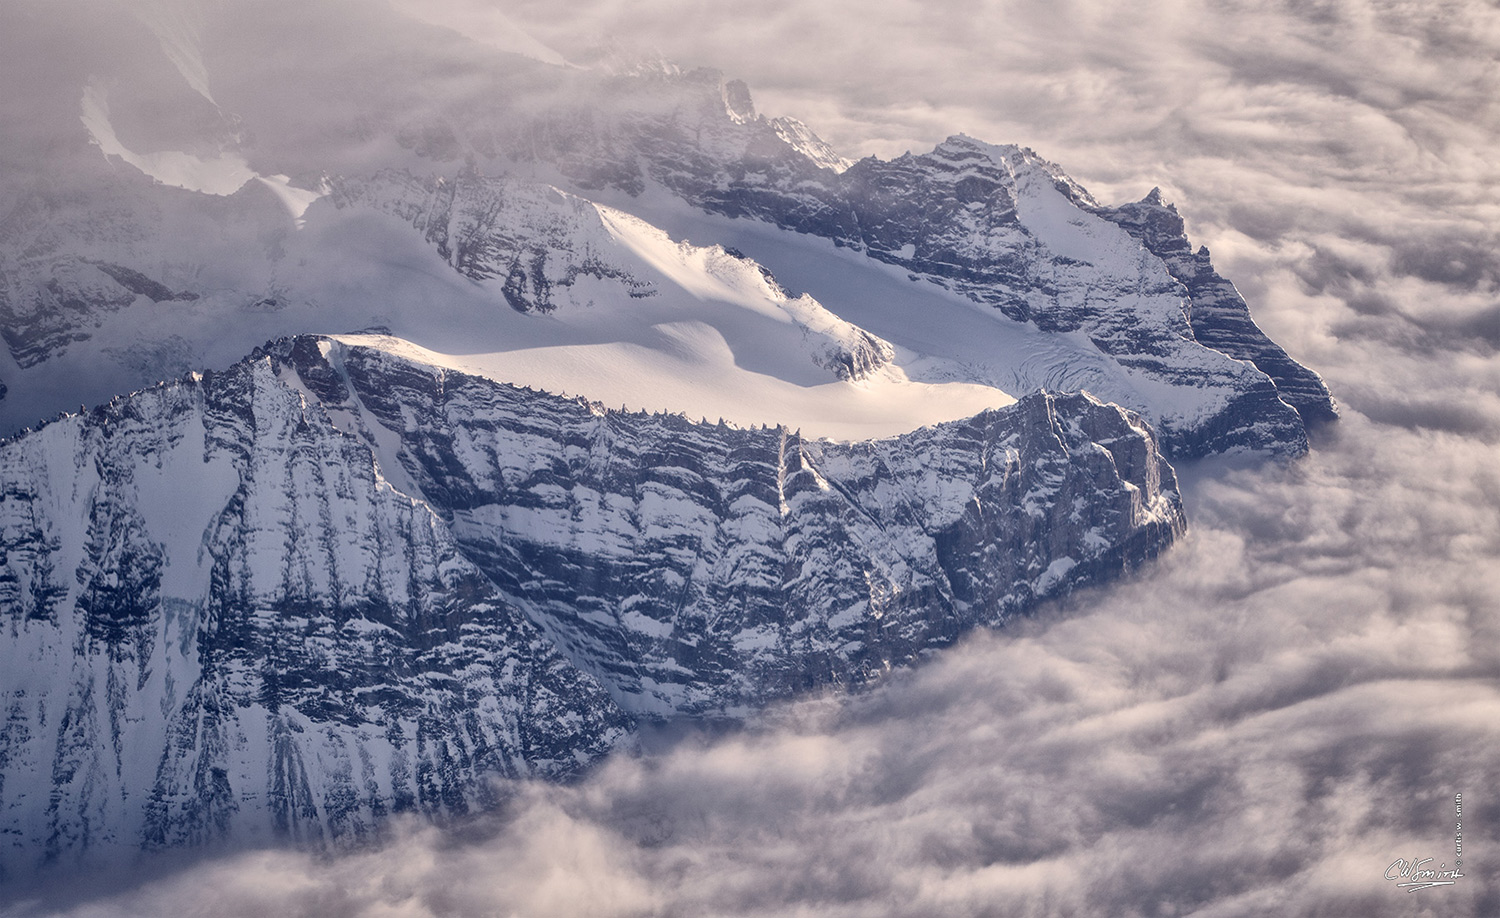
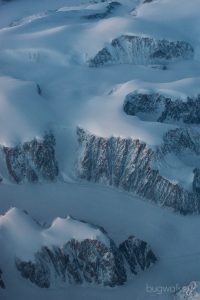
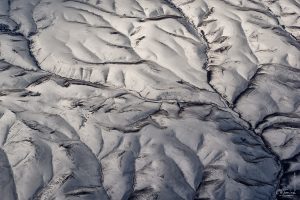
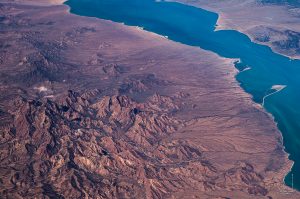
The image of mountains in Greenland above does not have great composition but the clouds, mountain peaks and environment combine to make it really interesting. This is where a higher megapixel camera can pay off since you have will more options for cropping and composing the image when post-processing the image. The final goal is to simply take the shot when you can and hope that better composition presents itself as the plane moves. Who knows, sometimes you will just get lucky!
Post-processing
When shooting from airplane windows sometimes lighting conditions cooperate and very little editing is necessary to get an acceptable image. However that is usually not the case.
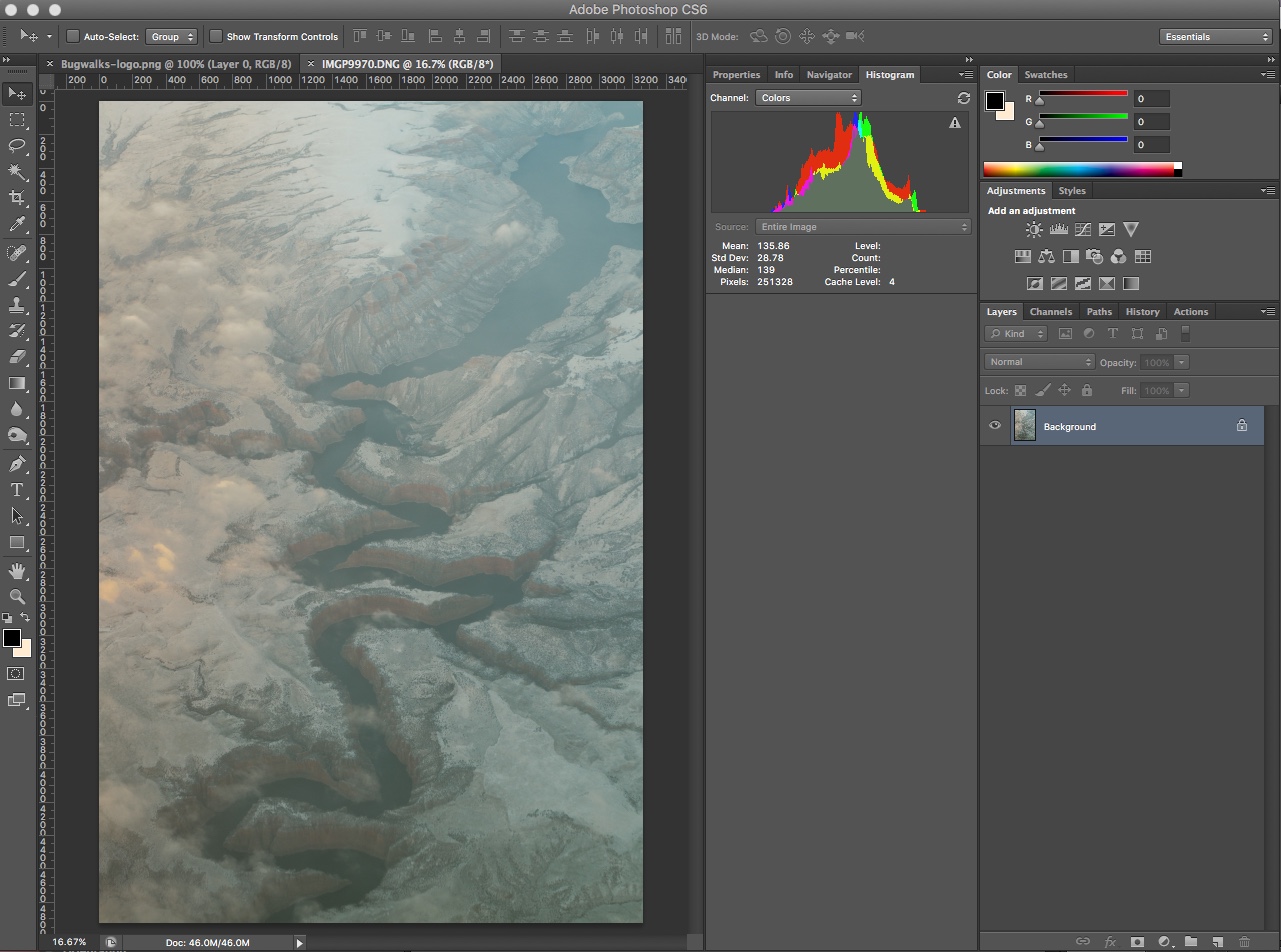
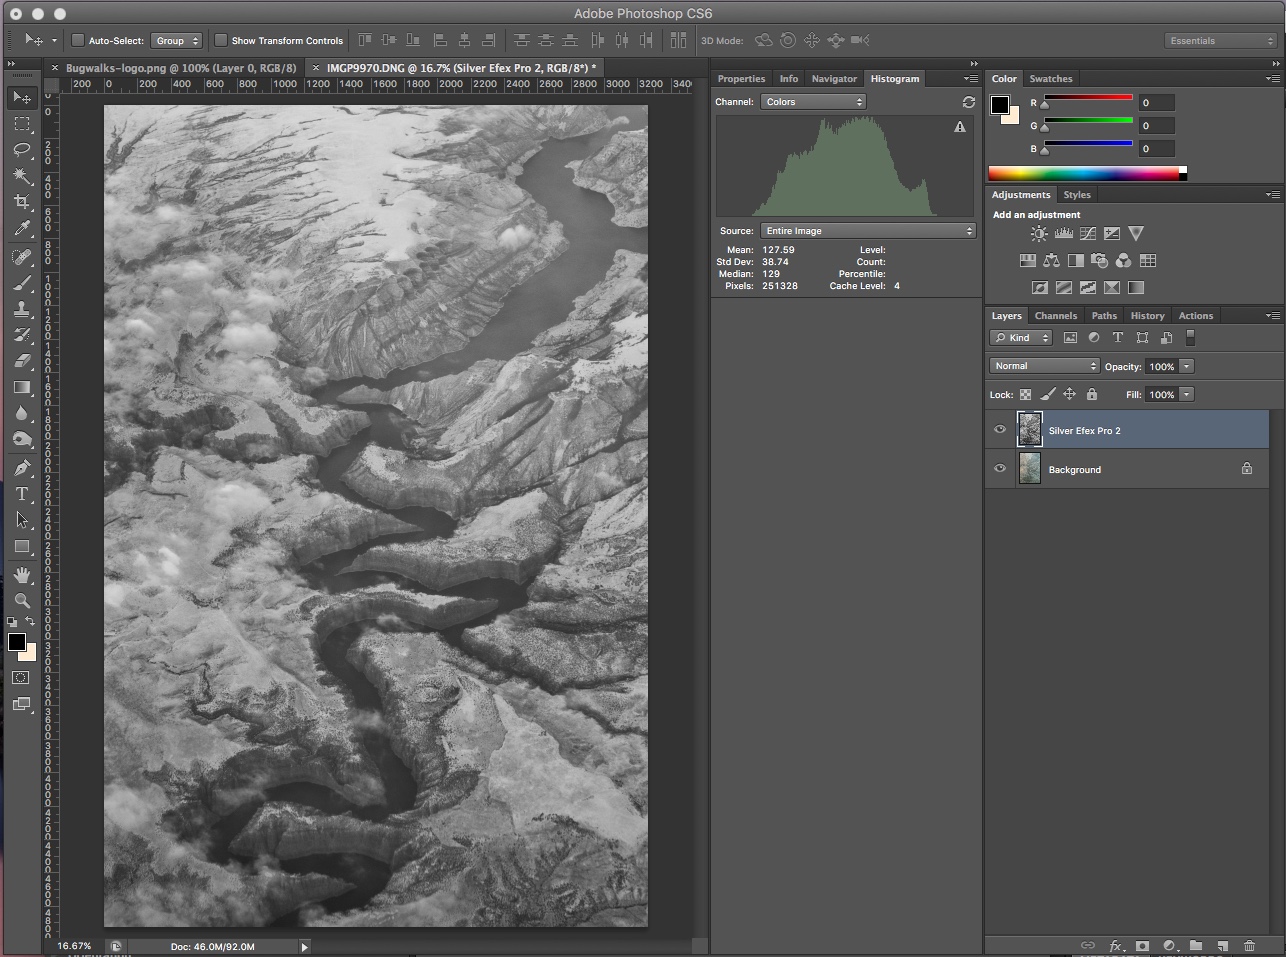
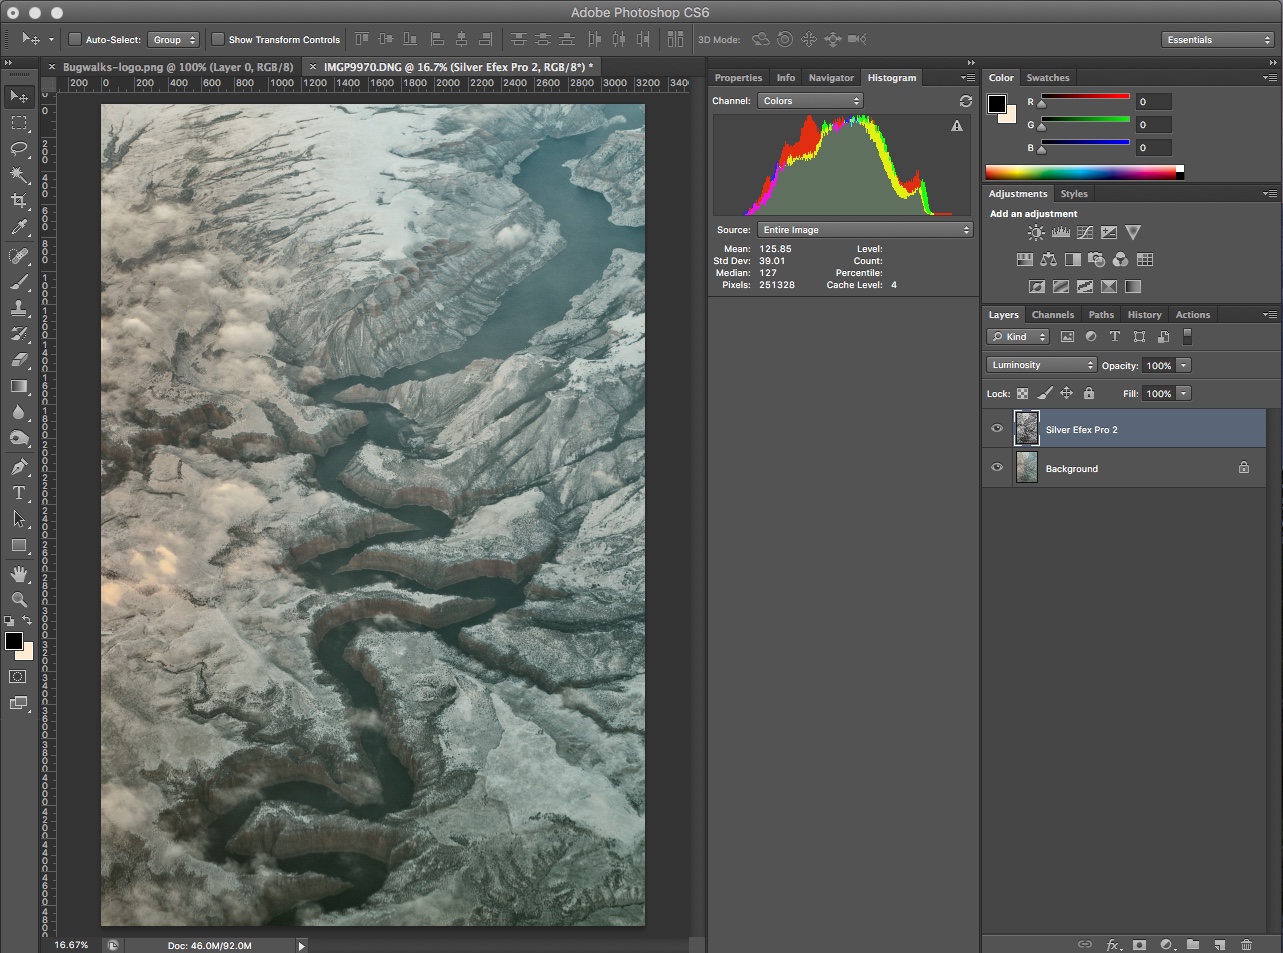
The biggest challenge is dealing with haze in the atmosphere that detracts from image detail. After experimenting with several different techniques I have settled on a workflow using Adobe Camera Raw, Photoshop and Nik Silver Efex Pro (a Photoshop plug-in).
- Adobe Camera Raw: Decrease the Brightness and increase the contrast to help bring out some of the detail (image)
- Photoshop: Adjust Levels for contrast (image)
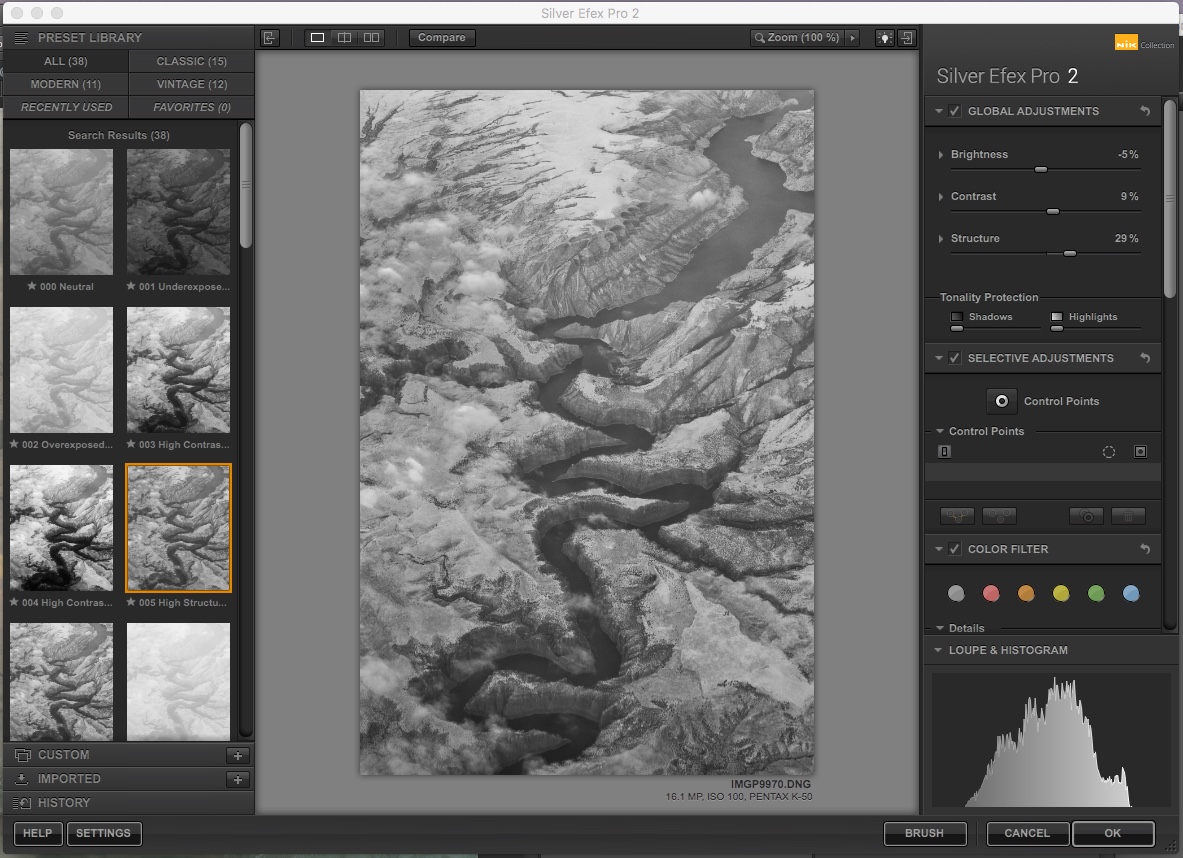
- Photoshop/Nik Silver Efex Pro: Use Silver Efex to create a high structure black and white version (image)
- Photoshop: Bring Silver Efex layer in above the original layer (image)
- Photoshop: Change the Silver Efex Layer blending to Luminosity and reduce the opacity to adjust for the best mix of clarity and color (image)
- From this point make color and level adjustments according to your style.
A “Window Seat” Gallery
For your enjoyment, here is a small gallery with a few more images taken from various “aerial photographic platforms”.
Thanks for reading!


I came to your site from the article on PetaPixel, wandered around, visited your Instagram collection, and enjoyed the visual bugwalks. I particularly enjoyed your restrained use of light and conveying the mood.
Cemal
Thank you for the visit and the nice comments, Cemel. The Petapixel article was fun to write and I hope to do more.
Cheers!